

Knowledge Base
AWS Authentication using Access Keys
Here are the detailed steps on how to create Credentials to be used by Cloudockit when generating your AWS Documentation.
Step 1 – Create the access keys
- Sign into the AWS Management Console and open the IAM console at https://console.aws.amazon.com/iam/.
- In the navigation pane, choose Users
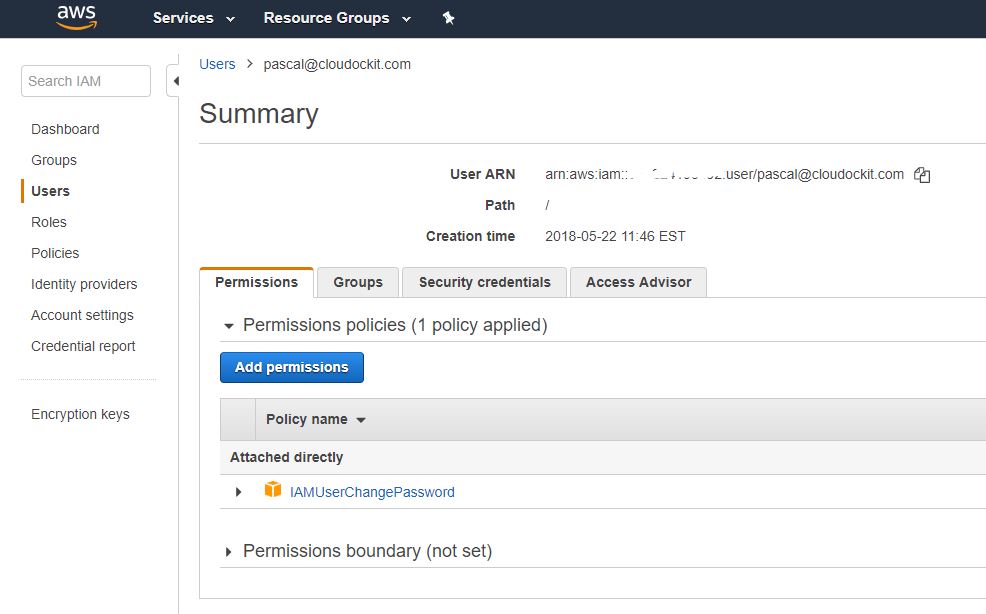
- Choose the name of the desired user (the one you want to use in Cloudockit) (If you want to create a new user dedicated for this, please refer to this link : https://www.cloudockit.com/documentation/aws-create-user-for-cloudockit/) , and then choose the Security Credentials and click on Create Access Keys
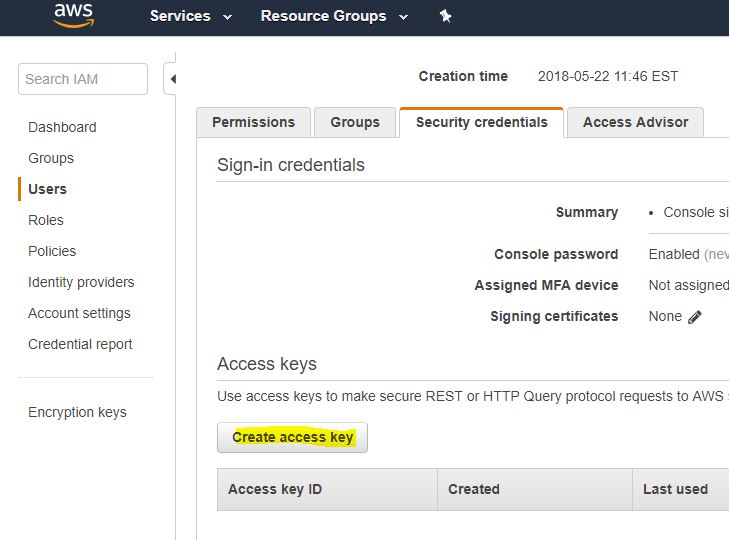
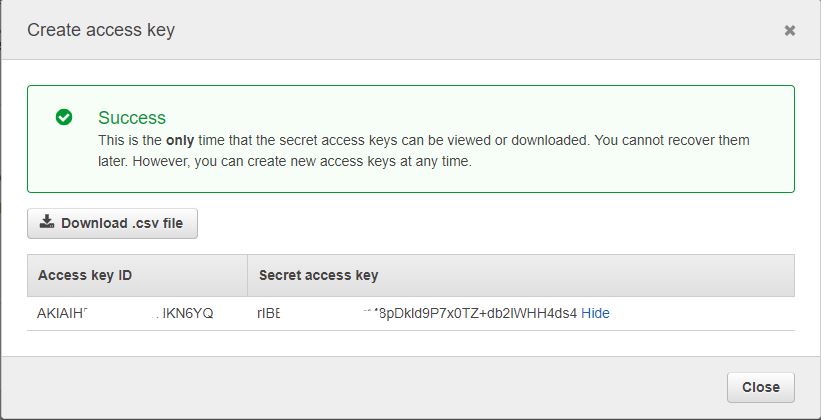
- Under Secret Access Keys, click on show. Copy the Access Key ID and the Secret Access Key as they will be used to connect to your AWS Account in Cloudockit
Step 2 – Log into Cloudockit
- When you are prompted for the AWS authentication enter the information you copied in the previous step:
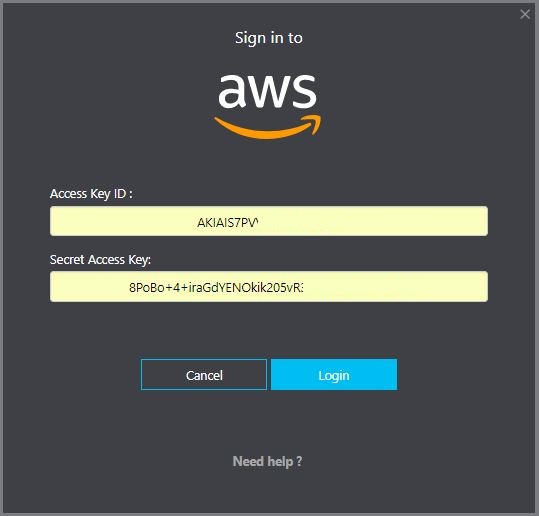
- Then click on Login. You should now see your AWS Account