Knowledge Base
Getting Started with Cloudockit
The following is a quick overview of how to start your auto-generated documents and diagrams in Cloudockit SaaS in just a few minutes. So, let’s get started.
Note: If you are in the Free Trial mode, please refer to this link. You can still use this procedure even if you don’t have any valid license, but you want to see the full-fledged authentication flow.
Step 1 – Login to Cloudockit
First, you need to log into the Cloudockit platform. No need to sign-up or register to Cloudockit, you can use your cloud service provider.
For security reasons, we rely on existing identity providers. You can choose any identity provider from the following:
- Azure Active Directory
- Any public Azure Active Directory account can be used
- When you click on the Azure Active Directory, you will be prompted to an Azure Active Directory Tenant Name. Click here to see how you can find it
- Amazon
- This is a commercial Amazon account, not AWS
- Google Account
- Any Google Account can be used
Remember, this first step is to log into Cloudockit, therefore any account can be used. You don’t need to have an Azure Subscription, AWS Account, or GCP Project attached to it.
Step 2 – Connect your environments
Once you are logged into the Cloudockit platform, you need to connect to the environment you want to document.
Which one would you like to connect to:
Step 3 – Start Document Generation
Once you are connected to your environment, you will see a list of subscriptions, accounts or projects related to your cloud service provider. You will need to select the one you are interested in and click on continue.
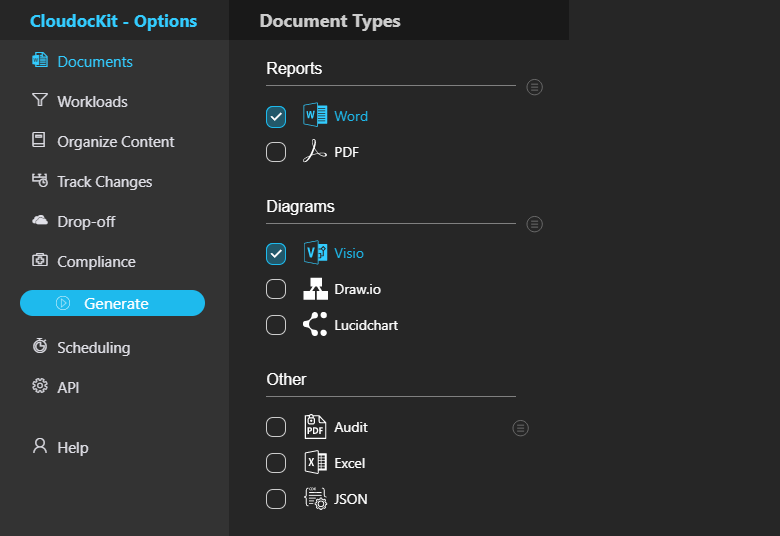
You are now ready to click on the Generate button to start the document generation!

At the end of the process, you will see download links in your browser, and you will receive an email (you can change the email to send to in the Drop-Off tab) with your documents and diagrams.
Remember, this may take a while for huge environments so you can grab a cup of coffee in the meantime.