Knowledge Base
Setting up Managed Identity Authentication
Cloudockit Desktop gives you the possibility of authenticating your subscriptions with Managed Identity.
With this scenario, you can give the virtual machine, where Cloudockit Desktop is installed, the proper permissions so it connects to your different Azure Subscriptions.
Managed Identity can be enabled on an existing Virtual Machine or at the time of creating a Virtual Machine.
Enabling Managed Identity on an existing Virtual Machine
Open the Azure Portal
Select the Virtual Machine of your choice
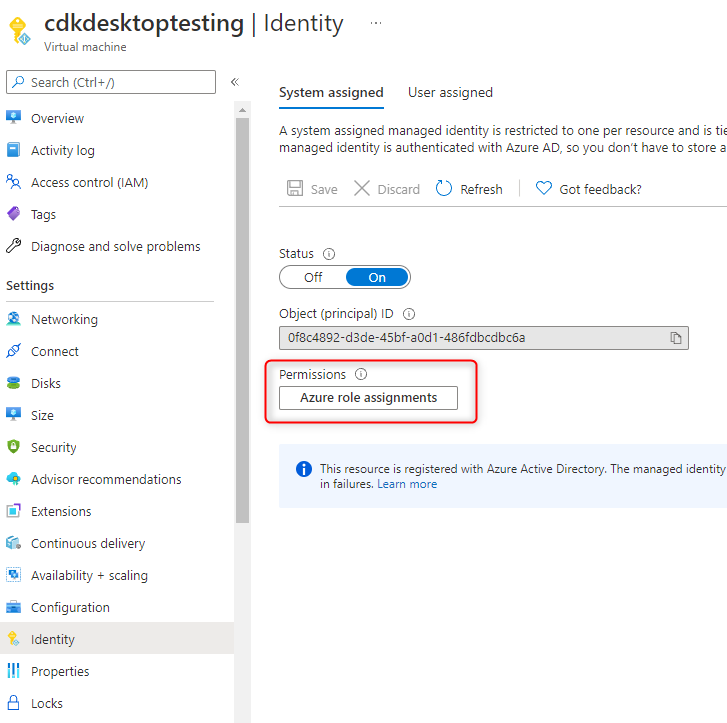
From the Settings section, select Identity

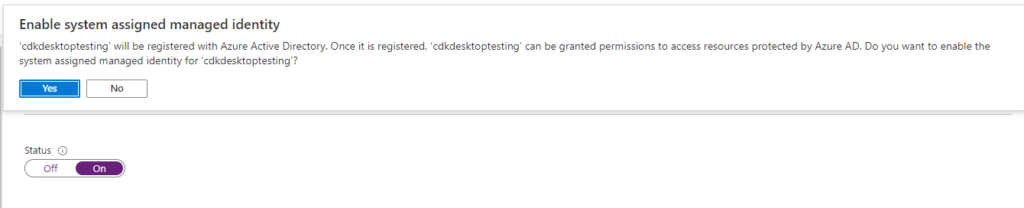
Switch the Status button from Off to On and click Save
Click Yes to Enable system assigned managed Identity
Click Azure Role Assignments
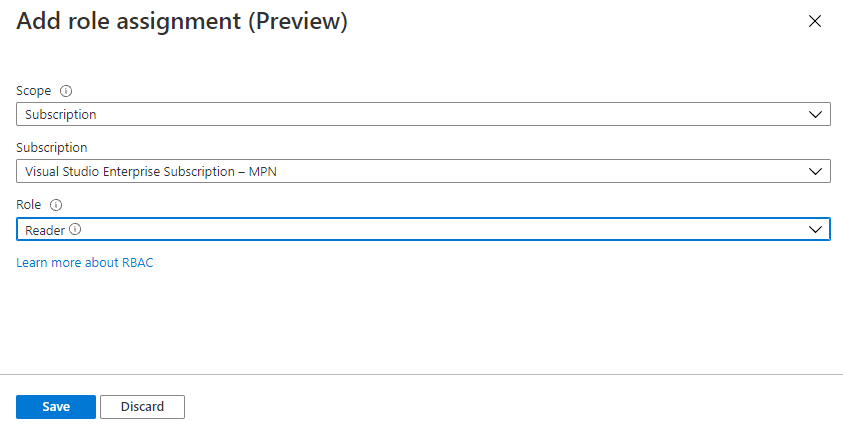
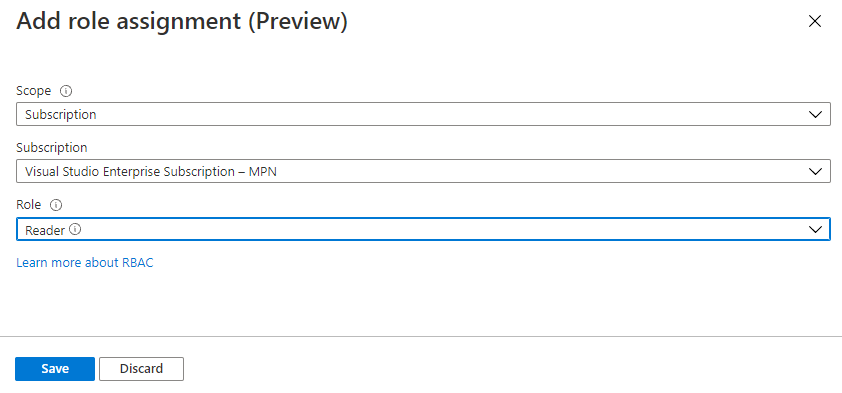
Click Add role assignment

From the Scope drop-down menu, select Subscription
From the Subscription drop-down menu, select the subscription of your choice
From the Role section, select Reader
Click Save
The role assignment added is now visible in the list

Enabling Managed Identity when creating a Virtual Machine
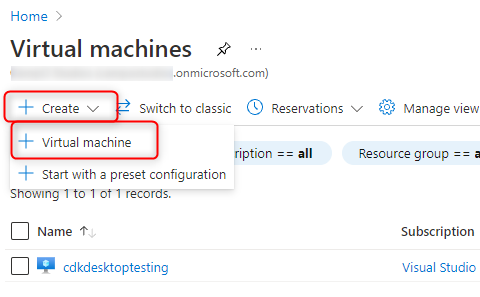
Open the Azure Portal
Select Virtual Machines
Click Create and select Virtual Machine
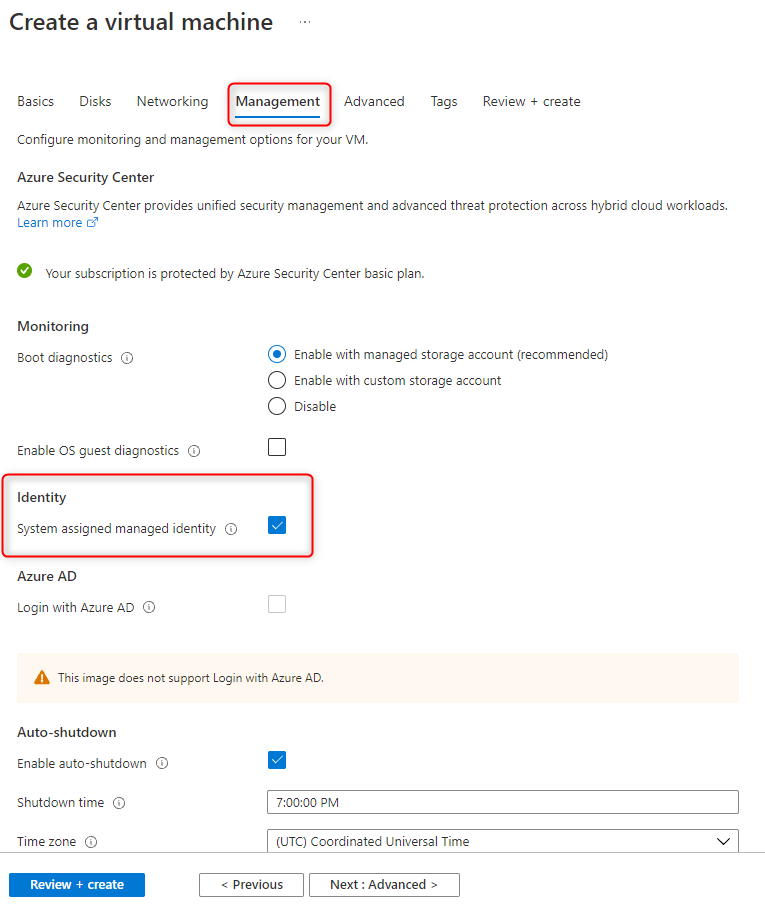
Create the Virtual Machine based on your organization’s specifications
Under the Management section, make sure to check the box under Identity, System assigned managed identity
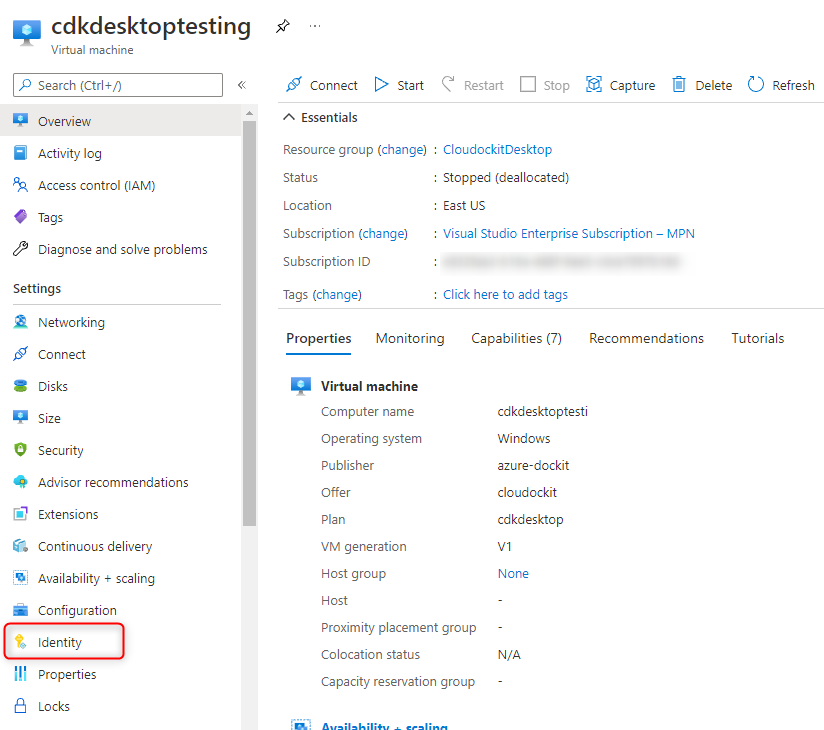
Once the Virtual Machine is created, select the Virtual Machine from the list
From the Settings section, select Identity
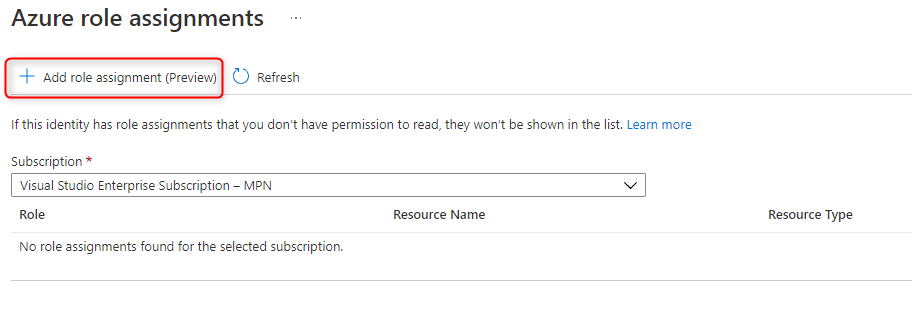
Click Azure Role Assignments

Click Add role assignment
From the Scope drop-down menu, select Subscription
From the Subscription drop-down menu, select the subscription of your choice
From the Role section, select Reader
Click Save
The role assignment added is now visible in the list

Testing the permissions
Open Cloudockit Desktop from the Virtual Machine
Click Start or Schedule a document generation and select the Azure Platform
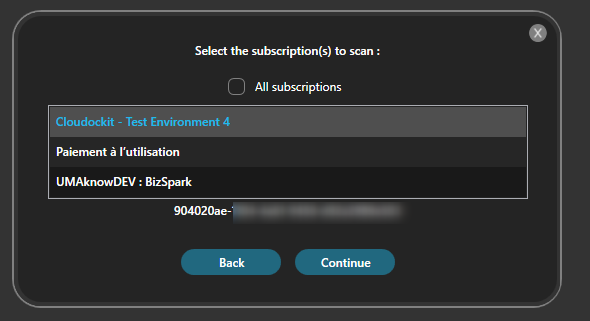
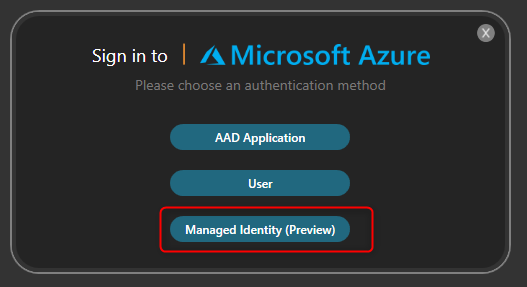
Click Managed Identity
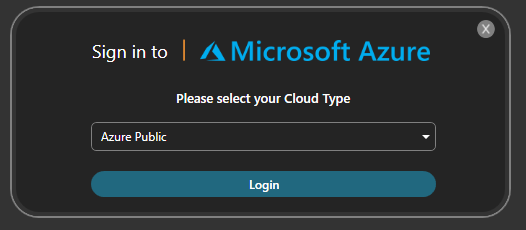
Select your Cloud Type
You now have access to the list of subscriptions your Virtual Machine can read and document using Cloudockit Desktop.